cocos2d-x 2.x メモ
Copyright (C) 2013 by Nobuhide Tsuda
概要
- 本家:http://www.cocos2d-x.org/
- マルチプラットフォーム(Android, iOS, Windows, etc)な2Dゲームフレームワーク
- イベント処理、スプライト、画面遷移、イフェクト(粒子モデル)、物理エンジン(BOX2D)、サウンド機能など
- 言語は C++
- 開発環境:Eclipse, VS2012/2010(/2008?), xcode 4
- AngryBirds の開発環境として一躍有名になった Cocos2d(Objc)をマルチプラットフォーム化したもの
- ライセンスは基本的に MIT ライセンスっぽい。各モジュールはそれぞれのライセンスに従う
artwork, SpiderMonkey に GPL が少し紛れ込んでいるので、嫌GPLの人は注意
- cocos2d-x 使用アプリ例
セットアップ
DL&解凍
- Download から Cocos2d-x 下の zip をダウンロードし、解凍
- version 2.0.4 をDLした場合は、以下の様なディレクトリ構造
+ __MACOSX          OSX 用テストソース
+ cocos2d-2.0-x-2.0.4
    + cocos2dx      フレームワーク ソースコード
    + CocosDenshion 各環境固有のソース?
    + document
    + extensions
    + external
        + Box2D     2D 物理エンジン
        + chipmunk  2D 物理ライブラリ
    + licenses
    + samples
        + HelloCpp
        + などなど
    + scripting
    + template		各環境(android, blackberry, msvc, xcode4)のプロジェクトテンプレート
    + tools
    VS sln ファイル
    環境設定bat ファイル
    readme など
Windows
ビルド
- VisualStudio を持っていれば、cocos2d-win32-vs20{08|10|12}.sln をオープンして、フルビルドすることが出来、サンプルを実行可能
※ cocos2d-x 2.1 beta3 では vs2008.sln は無くなっていた
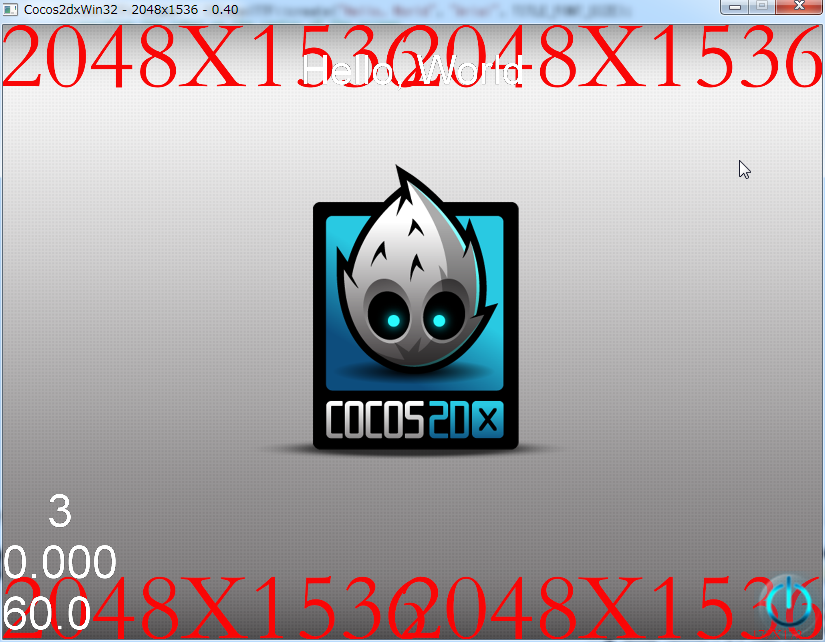
HelloCpp: 認識しづらいけど、上部中央に“Hello World”と表示されている。左下はFPS。右下は終了ボタン。
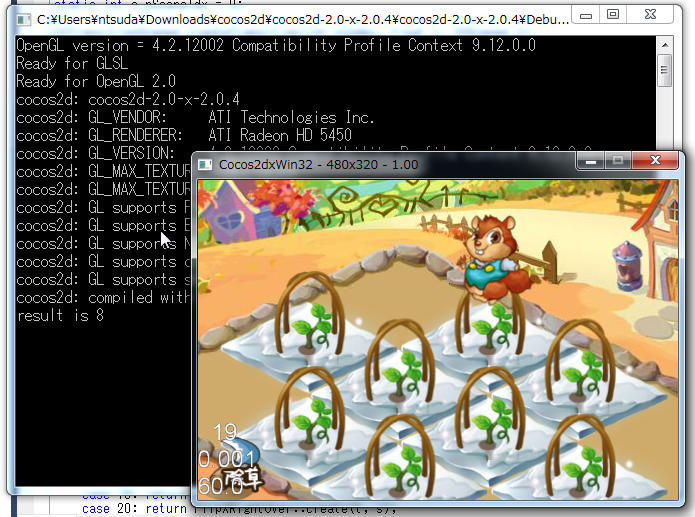
HelloLua: なんかかわいらしい擬似3Dゲーム?
※ Luaはプログラムの機能を拡張する用途に特化したスクリプト言語らしい
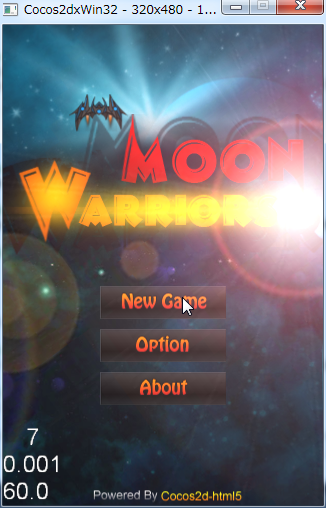
MoonWarriors: イフェクトがかっちょいい縦スクロールシューティングゲーム
メインは JavaScript(or HTML5?)で書かれているっぽい
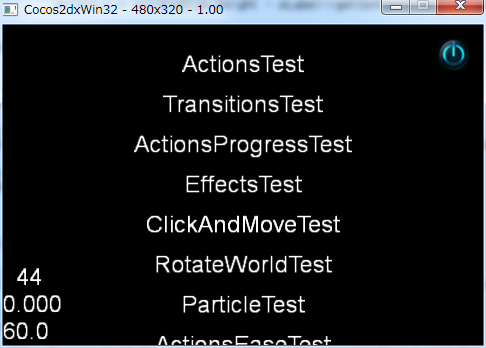
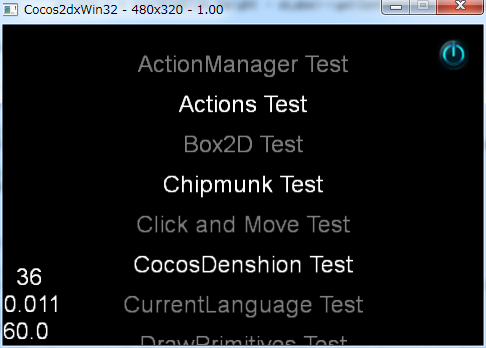
TestCpp: C++ による各種機能テスト。画面下部が少し切れているのは残念だが、豊富な Effects に感動した。
TestJavascript: JavaScript による各種機能テスト。画面下部が少し切れているのは同じだが、実行出来るテストは少ない。
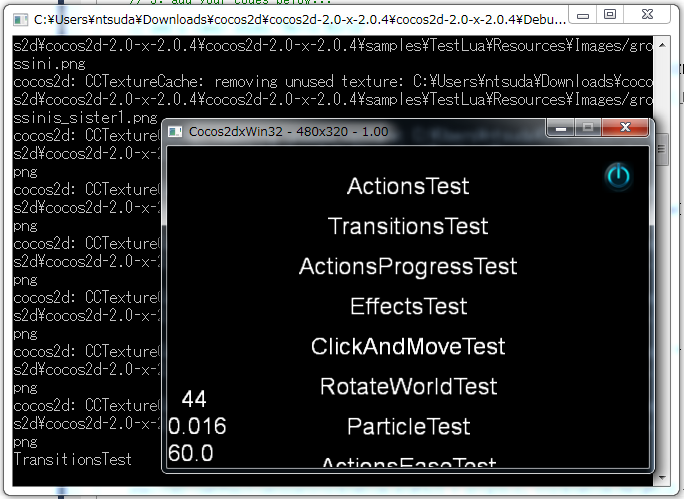
TestLua: Lua による各種機能テスト。画面下部が少し切れているのは同じで、Effects 以下は動作しなかった。
新規プロジェクトを作成出来るようにしよう
- install_templates-msvs.bat を実行すると、VC++ に cocos2d-x 用テンプレートを追加してくれる
が、残念なことにインクルール、ライブラリパスなどを設定してくれない(@2.0.4)
- samples/HelloCpp を別名でコピーし、proj.win32/HelloCpp.vcxproj 等をリネームするのが話が早い
iOS
- xcode 4 を使用するよ
- cocos2d zip ファイルをDL&解凍
- ターミナルで解凍したディレクトリに移動し、sodo ./install-templates-xcode.sh 実行
Android
- Eclipse などを使用するよ
- Windows, iOS に比べるとちょっとまんどくさいよ
- undone: 調べて書く予定
サンプルソースをいじってみる
結構詳細なリファレンスが公開されているのだが、
順番に読んで行くのは根気と忍耐と時間がいる。
まずはサンプルソース(HelloCpp)をいろいろいじってみるのが楽しいし、マスターへの早道だ。
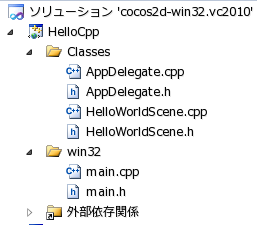
上図は HelloCpp プロジェクトのソースツリー。Classes と win32 に分かれている。
前者はプラットフォームに依存しない部分、後者は win32 固有の記述のようだ。
ひとつ上のディレクトリを見ると、proj,android, proj.ios などがあり、そこに固有のソースが存在する。
Classes も proj.win32 などと同じ階層に存在する。
ラベル表示をいじってみる
Classes ディレクトリ下で "Hello World" を grep すれば、メッセージを表示している部分はすぐにみつかる。
下リストの59行目だ。
21: // on "init" you need to initialize your instance
22: bool HelloWorld::init()
23: {
    .....
53:     /////////////////////////////
54:     // 3. add your codes below...
55:
56:     // add a label shows "Hello World"
57:     // create and initialize a label
58:
59:     CCLabelTTF* pLabel = CCLabelTTF::create("Hello World", "Arial", TITLE_FONT_SIZE);
60:
61:     // position the label on the center of the screen
62:     pLabel->setPosition(ccp(origin.x + visibleSize.width/2,
63:                             origin.y + visibleSize.height - pLabel->getContentSize().height));
64:
65:     // add the label as a child to this layer
66:     this->addChild(pLabel, 1);
67:
68:     // add "HelloWorld" splash screen"
69:     CCSprite* pSprite = CCSprite::create("HelloWorld.png");
70:
71:     // position the sprite on the center of the screen
72:     pSprite->setPosition(ccp(visibleSize.width/2 + origin.x, visibleSize.height/2 + origin.y));
73:
74:     // add the sprite as a child to this layer
75:     this->addChild(pSprite, 0);
76:
77:     return true;
78: }
ソースを読めば、やっていることが直ぐにわかる。
テキストは CCLabelTTF クラスオブジェクトで、59行目で文字列、ファミリー。サイズを指定してラベルオブジェクトを生成し、
63行目で画面サイズ、ラベルオブジェクトサイズを参照して位置を決め、
66行目でレイヤーに配置している。
- 色を指定
pSprite->setColor( ccs3(R, G, B));
- 透明度指定
pSprite->setOpacity(o:int);
- 回転させる
pSprite->setRotation(T:float);
- アニメーション
CCMoveTo *move = CCMoveTo::create(T:float, ccp(X, Y));
pSprite->runAction(move);
- 複合アニメーション
CCSequence *seq = CCSequence::createWithTwoActions(move1, move2);
pSprite->runAction(seq);
画像を表示してみる
ボタン押下ハンドラを実装してみる
シーンを遷移(transition)させてみる
描画モデル
cocos2d-x は画面に関しては以下の階層構造を持つ
- ディレクター(シングルトン)
- ビュー
- シーン
- レイヤー
- スプライト