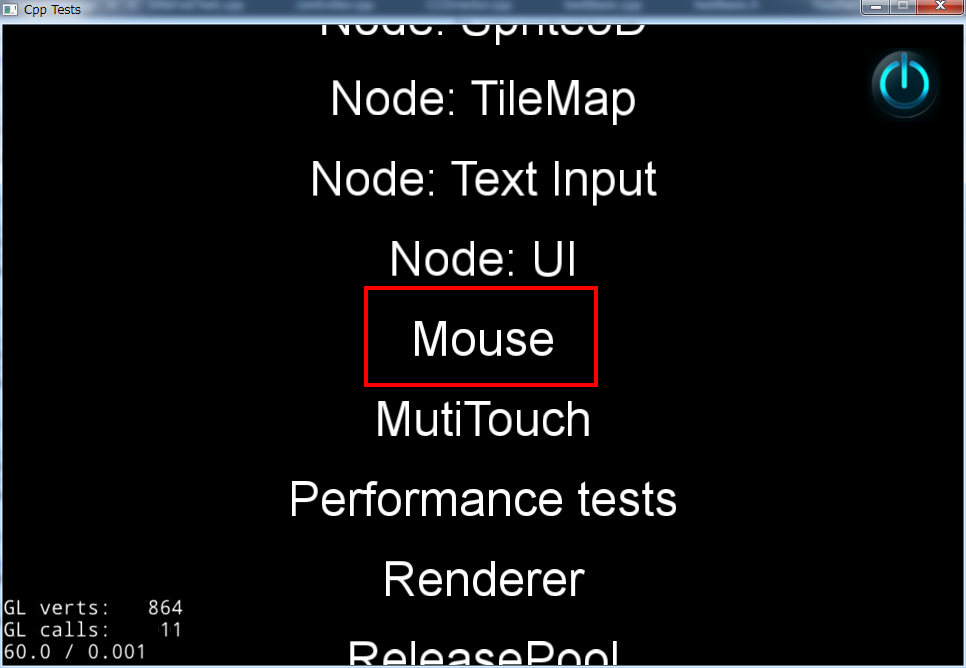
上図のテストプログラム画面で、「Mouse」を選ぶと、下図のマウステスト画面になる。
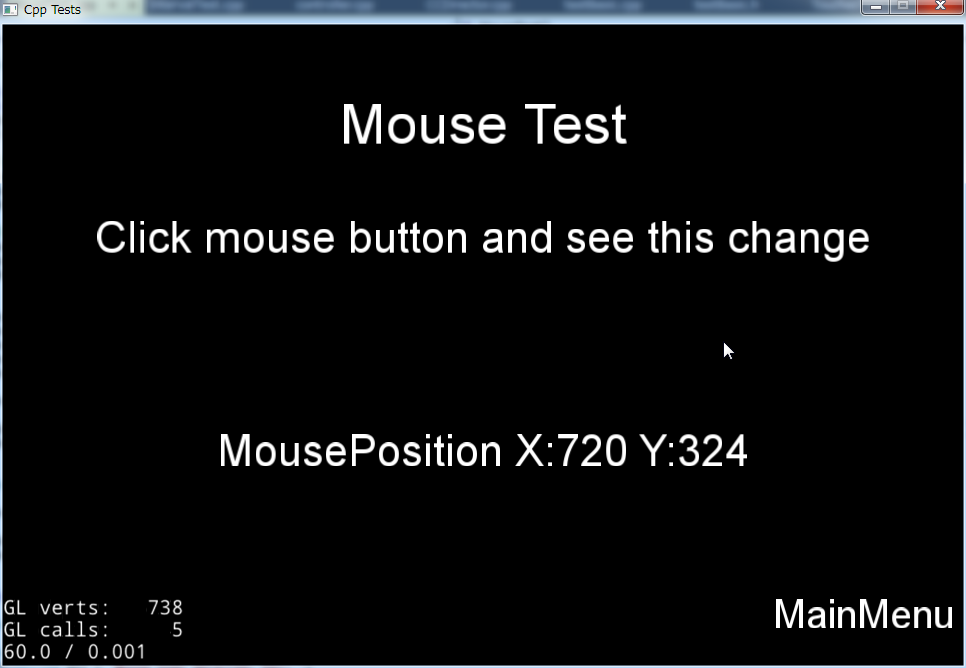
マウステスト画面では、中央にマウスポインタの座標がリアルタイムに表示され、
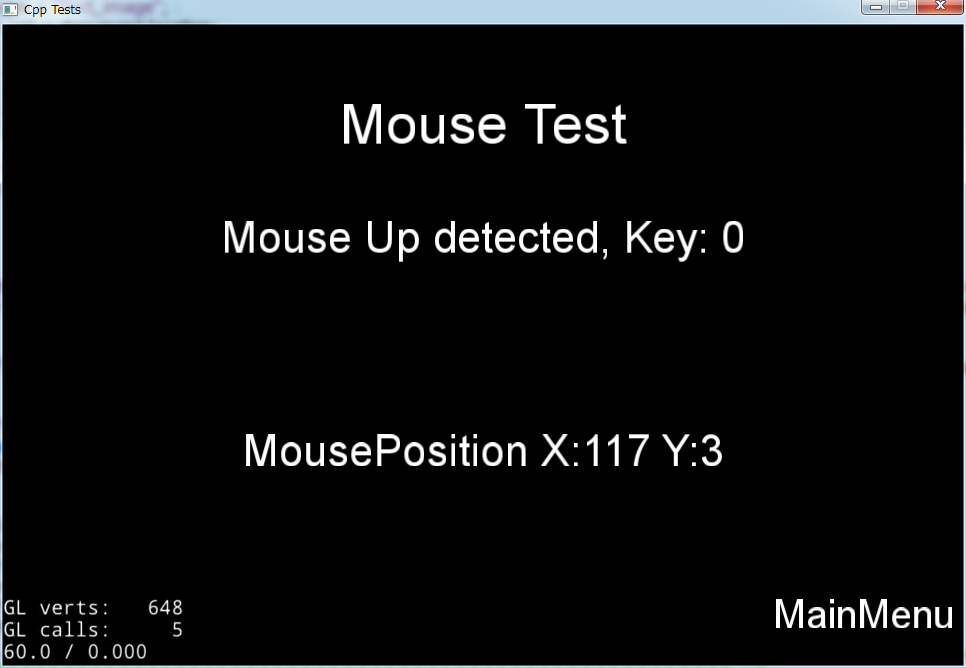
マウスボタンを押下・離すとその旨が2行目に表示される。
「Key:」の部分はどのボタンが押されたかを示す。0 は左ボタン、1 は右ボタン、2 は中ボタンだ。
#include "cocos2d.h"
#include "../testBasic.h"

class MouseTest : public Layer
{
public:
    MouseTest();
    ~MouseTest();

    void onMouseDown(Event* event);
    void onMouseUp(Event* event);
    void onMouseMove(Event* event);
    void onMouseScroll(Event* event);

private:
    Label*   _labelAction;
    Label*   _labelPosition;
    EventListenerMouse* _mouseListener;
};

class MouseTestScene : public TestScene
{
public:
    virtual void runThisTest();
};
"MouseTest.h" では、MouseTest, MouseTestScene の2つのクラスが宣言されている。
MouseTest クラスは、Layer の派生クラスで、マウステスト本体のクラスだ。
マウス操作が行われた時のハンドラ(onMouseXXX)と、必要なメンバ変数が宣言されている。
ハンドラは分かりやすい名前がつけてあるので、何をするものかすぐに分かる。
メンバ変数として、メッセージを表示するためのラベルオブジェクトが2つと、マウスのイベントリスナーが宣言されている。
MouseTestScene クラスは、TestScene の派生クラスで、マウステストクラスをセットアップするためのものだ。
メニューで「Mouse」が選択されると、TestController::menuCallback() から呼び出される runThisTest() 仮想関数を宣言している。
MouseTest::MouseTest()
{
    auto s = Director::getInstance()->getWinSize();
    auto title = Label::createWithTTF("Mouse Test", "fonts/arial.ttf", 28);
    addChild(title, 0);
    title->setPosition( Vec2(s.width/2, s.height-50) );

    //Create a label to display the mouse action
    _labelAction = Label::createWithTTF("Click mouse button and see this change", "fonts/arial.ttf", 22);
    _labelAction->setPosition(Vec2(s.width/2, s.height*2/3));
    addChild(_labelAction, 0);

    //Create a label to display the mouse position
    _labelPosition = Label::createWithTTF("Mouse not supported on this device", "fonts/arial.ttf", 22);
    _labelPosition->setPosition(Vec2(s.width/2, s.height/3));
    addChild(_labelPosition);


    _mouseListener = EventListenerMouse::create();
    _mouseListener->onMouseMove = CC_CALLBACK_1(MouseTest::onMouseMove, this);
    _mouseListener->onMouseUp = CC_CALLBACK_1(MouseTest::onMouseUp, this);
    _mouseListener->onMouseDown = CC_CALLBACK_1(MouseTest::onMouseDown, this);
    _mouseListener->onMouseScroll = CC_CALLBACK_1(MouseTest::onMouseScroll, this);

    _eventDispatcher->addEventListenerWithSceneGraphPriority(_mouseListener, this);

    _labelAction->retain();
    _labelPosition->retain();
}
上記は MouseTest クラスコンストラクタの実装。
最初に Director::getInstance()->getWinSize(); をコールし、ウィンドウのサイズを取得している。後で、ラベル等の位置を指定するためだ。
ついで、タイトルラベルを生成し、addChild() でレイヤに追加し、title->setPosition() で表示位置を指定している。
位置の指定は先に取得したウィンドウサイズを参照している。ちなみに、cocos2d-x では画面左下が座標原点だ。
addChild() の第2引数は Zオーダー を示す。引数を指定しない場合は、追加するオブジェクトの _localZOrder が参照される。
_localZOrder のデフォルト値は 0 のようなので、何故2種類の書き方をしているのかは謎。
次に、ボタン押下・リリースメッセージと、マウスポインタ座標を表示するためのラベルを生成(Label::createWithTTF())し、レイヤーに追加している。
次に、マウスイベントリスナーを EventListenerMouse::create() で生成し、マウス移動、ボタン押下・リリース、スクロールイベントハンドラを指定している。
CC_CALLBACK_1() は、 ccMacros.h で定義されているハンドラを指定するためのマクロだ。
イベントハンドラオブジェクトが出来上がったら、イベントディスパッチャに対して addEventListenerWithSceneGraphPriority(_mouseListener, this); をコールして、リスナーを登録している。
最後に、_labelAction、_labelPosition に対して retain() をコールしている。これは参照カウントを+1するもので、デストラクタでコールする release() を対を成すものだ。
MouseTest::~MouseTest()
{
    _eventDispatcher->removeEventListener(_mouseListener);

    _labelAction->release();
    _labelPosition->release();
}
上記は MouseTest クラスデストラクタの実装。
イベントリスナ(_mouseListener)をイベントディスパッチャから外し、_labelAction、_labelPosition をリリースしている。
このような処理を明示的に書く必要があるのは、忘れるとメモリリークになってしまい危険なので、フレームワークとしてどうなのよと思ってしまう。
ゲームであれば、シーンを切り替えることはあっても、動的に生成・破棄することはあまりないので、問題にはならないということか?
template <typename T> std::string tostr(const T& t) { std::ostringstream os; os<<t; return os.str(); }
上記は任意の型を << で 文字列に変換し、返すテンプレート関数の定義。
後で、int 型マウスボタン番号を文字列に変換するときに使用されている。
C++11 では to_string() が導入されたので、この関数はもはや不要だと考える。
void MouseTest::onMouseDown(Event *event)
{
    EventMouse* e = (EventMouse*)event;
    std::string str = "Mouse Down detected, Key: ";
    str += tostr(e->getMouseButton());
    _labelAction->setString(str.c_str());
}
上記はマウスボタンが押された時に実行されるハンドラの実装。
引数で渡ってくる event を EventMouse* にキャストし、押されたボタン番号の e->getMouseButton() を先の tostr() で文字列に変換し、 マウスが押された旨のメッセージと共に、_labelAction に表示している。
void MouseTest::onMouseUp(Event *event)
{
    EventMouse* e = (EventMouse*)event;
    std::string str = "Mouse Up detected, Key: ";
    str += tostr(e->getMouseButton());
    _labelAction->setString(str.c_str());
}
上記はマウスボタンがリリースされた時に実行されるハンドラの実装。
引数で渡ってくる event を EventMouse* にキャストし、押されたボタン番号の e->getMouseButton() を先の tostr() で文字列に変換し、 マウスがリリースされた旨のメッセージと共に、_labelAction に表示している。
void MouseTest::onMouseMove(Event *event)
{
    EventMouse* e = (EventMouse*)event;
    std::string str = "MousePosition X:";
    str = str + tostr(e->getCursorX()) + " Y:" + tostr(e->getCursorY());
    _labelPosition->setString(str.c_str());
}
上記はマウスポインタが移動された時に実行されるハンドラの実装。
引数で渡ってくる event を EventMouse* にキャストし、マウスポインタ位置の たボタン番号の e->getCursorX(), e->getCursorY() を先の tostr() で文字列に変換し、 マウスが位置というメッセージと共に、_labelPosition に表示している。
void MouseTest::onMouseScroll(Event *event)
{
    EventMouse* e = (EventMouse*)event;
    std::string str = "Mouse Scroll detected, X: ";
    str = str + tostr(e->getScrollX()) + " Y: " + tostr(e->getScrollY());
    _labelAction->setString(str.c_str());
}
上記はマウスホイールが操作された時に実行されるハンドラの実装。
引数で渡ってくる event を EventMouse* にキャストし、ホイール移動方向の e->getScrollX(), e->getScrollY() を先の tostr() で文字列に変換し、 ホイールが操作された旨のメッセージと共に、_labelAction に表示している。
以上で、MouseTest の実装は終わり。
void MouseTestScene::runThisTest()
{
    auto layer = new MouseTest();
    addChild(layer);

    Director::getInstance()->replaceScene(this);
    layer->release();
}
上記は、Mouse メニューアイテムが選択され、テストコントローラから呼ばれる仮想関数の実装。
マウステスト本体の MouseTest クラスオブジェクトを生成し、レイヤーに設定する。
何故最後に layer->release(); が必要なのかは、今のところ謎。